
Every spring it was the same story. A few days of heavy rain and I'd go downstairs to find water seeping along the bottom of the north foundation wall. Not a flood, but enough to leave damp spots, musty smell, and worry about mold or worse. The crack was about 4 feet long, hairline at the top but opening up near the floor. Two local waterproofing guys came out, poked around, and both threw out big numbers — $3,800 and $4,200 for what they called a "full interior system" with membranes and pumps. No thanks. I figured I could tackle the source myself for a fraction of that.
Why the Crack Was Leaking and What I Checked First
Houses built in the late 80s around here often have these issues. Poor grading, gutters dumping right next to the foundation, and clay soil that holds water. I walked the yard during a rainstorm and saw water pooling near that wall. Downspouts were extended but not enough. No major grading problems, but the soil against the foundation was higher than it should be in spots.
I ruled out bigger structural issues — no bowing walls, no huge horizontal cracks. Just hydrostatic pressure pushing through that one spot. Fixing the water entry point made more sense than hiding the symptoms inside.

Materials I Bought – Total $180
I kept it simple and cheap. No fancy kits.
Hydraulic cement: $18 for a big tub (Quikrete or similar)
Perforated 4" PVC drain pipe: about 25 feet for $45
Landscape fabric: $25 roll
Pea gravel / clean crushed stone: 1 ton delivered for $65
Basic tools I already had or borrowed (shovel, wheelbarrow, level)
Some landscape edging and extra pipe for daylighting the drain
That's it. No sump pump needed for this small section. Total right around $180.
The Repair Process – What I Actually Did Over Two Weekends
Weekend 1: Inside Patch
First, I tackled the crack from inside. Chiseled it out into a V-shape about 1 inch wide at the surface, going deeper toward the outside. Cleaned all loose concrete and dust with a wire brush. Mixed up the hydraulic cement and packed it in good. It sets fast — like 10-20 minutes — so you work quick. I feathered it out smooth and let it cure overnight.
That stopped the immediate drip, but I knew it wouldn't hold forever without addressing the outside pressure.
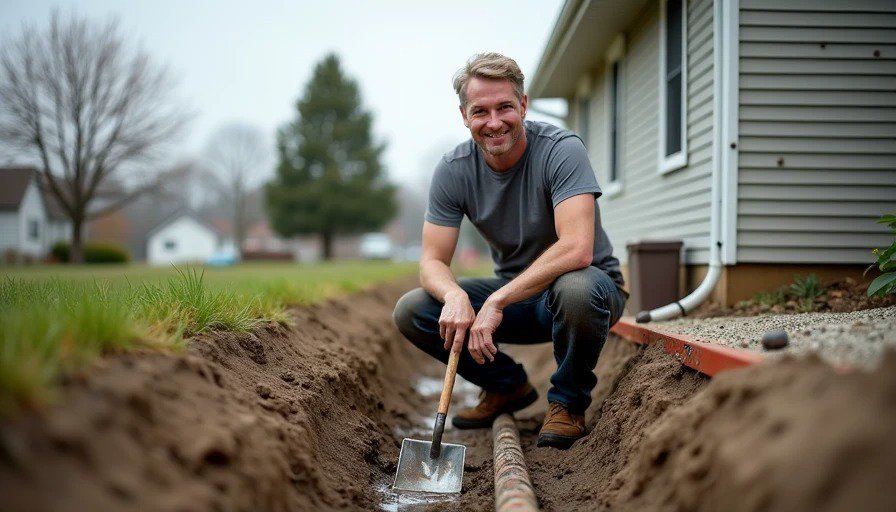
Weekend 2: Exterior French Drain
This was the bigger part. I dug a trench about 12-18 inches deep and 12 inches wide right along the foundation for about 25 feet, starting from the worst spot and sloping gently away from the house toward the backyard.
Key steps:
Dug down to just below the footer level where possible without undermining.
Laid landscape fabric in the trench.
Placed the perforated pipe with holes facing down, wrapped fully in fabric.
Backfilled with gravel, leaving the top few inches for soil and sod or mulch.
Connected the end to an existing yard drain area so water flows away.
I also regraded the soil to slope away from the house and cleaned out the gutters properly.
It wasn't backbreaking but it was dirty work. Took me about 12-14 hours total spread over the weekend plus some evenings. My back was sore, but nothing a few beers and ibuprofen couldn't fix.
Cost Breakdown and Comparison
My DIY Total: $180 + sweat equity
Professional quotes: $3,800 – $4,200. That's easily $3,200+ saved. Even a basic interior French drain system often runs $4k-$8k installed. Exterior work is even pricier because of excavation.
For context, full basement waterproofing jobs in Midwest areas like Columbus OH can hit $5k-$15k depending on scope. My fix was targeted — just the problem area — but it's held up great.
Quick Cost Table (Rough 2026 Numbers)
Approach | Materials | Labor/Install | Total Estimate |
|---|---|---|---|
My Targeted DIY | $180 | $0 | $180 |
Basic Pro Interior Patch | - | - | $800-$2,000 |
Full Interior French Drain | - | - | $4,000-$8,000 |
Exterior System (Pro) | - | - | $6,000-$12,000+ |
Numbers vary by location and house size, but the gap is huge for small problems.

What Worked Well and What I’d Do Differently
The hydraulic cement patch held solid. No more seepage even after heavy rains. The French drain diverts water before it builds pressure against the wall. Basement humidity dropped noticeably — I added a cheap dehumidifier too for good measure.
Lessons learned:
Always fix the exterior source first when possible. Interior fixes often just manage symptoms.
Slope everything away from the foundation — 6 inches drop in first 10 feet is the rule.
Use quality fabric to prevent clogging.
Check for buried utilities before digging (call 811).
Take photos of everything for future reference or if you sell the house.
Common mistakes I avoided: Relying only on paint-on sealers (they fail under pressure), ignoring grading, or digging too close to the foundation and causing settling.
Long-Term Results After One Year+
It's been over a year now. Multiple heavy spring rains, including some big storms, and the basement stays dry. No musty smell, no efflorescence on the walls. The fix feels permanent for this issue. I check the trench area every spring and top off gravel if needed.
If the problem was bigger — full perimeter or serious structural cracks — I'd probably bite the bullet and get pros involved. But for a single crack and localized water, DIY saved a ton and taught me a lot.
Energy-wise, drier basement means less dehumidifier runtime and lower electric bills. Plus peace of mind knowing I didn't have hidden water damage growing.
Would I Recommend This Approach?
For most homeowners with minor to moderate seepage and a bit of DIY confidence, yes. Watch some detailed YouTube videos on French drains and hydraulic cement first. Start small like I did. If water keeps coming or you see bigger cracks, get a structural engineer or reputable waterproofing company.
This wasn't glamorous work, but it beats paying thousands for something I could handle myself.
Anyone else tackle basement water issues on the cheap? What did your materials run and how long has it held? Share your numbers and what worked (or didn't) — this forum is about real costs, not sales pitches. Did I miss anything obvious?