
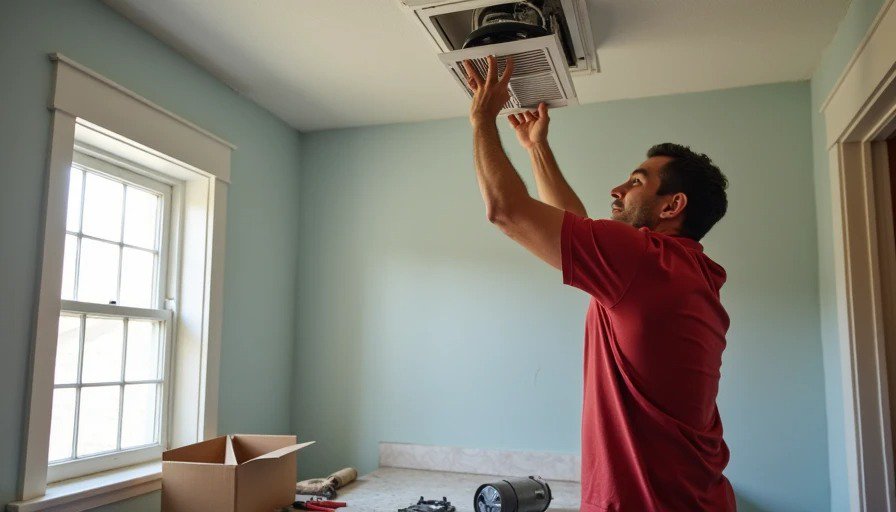
The exhaust fan in our main bathroom had been driving me crazy for years. Every time someone turned it on it roared like a helicopter taking off — loud enough to hear throughout the house. It was old, inefficient, and probably not moving air properly anymore.
I finally decided enough was enough and replaced the whole unit plus some basic ductwork for a grand total of $85. The difference is night and day. Quiet operation, better airflow, and no more waking up the whole house. This was one of the easiest and most satisfying small upgrades I’ve done.
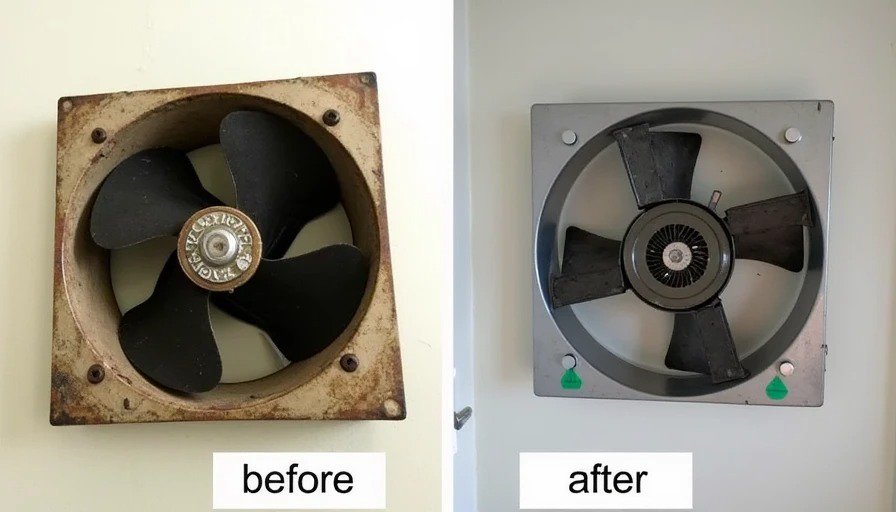
Why the Old Fan Was So Annoying
The original fan was probably 15-20 years old. High-pitched whine combined with rattling from loose parts. Poor CFM rating meant it took forever to clear steam, leading to moisture issues over time. It was one of those daily irritations that wear on you. I tolerated it too long thinking replacement would be complicated or expensive. Turns out it was neither.
Research and Product Choice
I researched quiet bathroom fans online. Looked for good CFM (cubic feet per minute) for the room size, low sone rating for noise (under 1.0 is quiet), and easy install features. Chose a basic but highly rated model with LED light option for around $60. Added flexible ducting and a new vent cover for $25. Total $85.
Step-by-Step Replacement Process
This is a very DIY-friendly project for most people.
Turn off power at breaker and remove the old grille.
Disconnect wiring and old duct.
Remove the old housing from the ceiling joists.
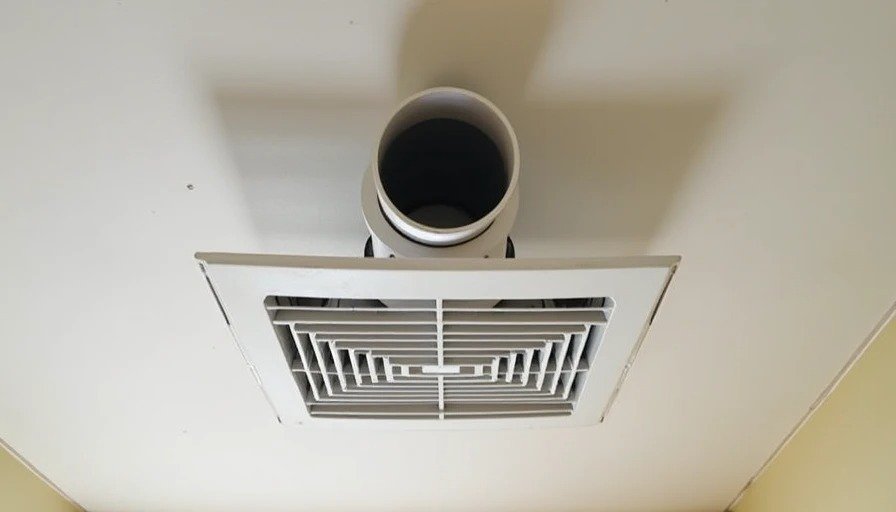
Install new housing, connect new duct, wire it up.
Attach new grille and test.
Took me about 2-3 hours total including cleanup. No major issues with attic access in my case.
Performance After Installation
The new fan is whisper quiet. Clears steam quickly, runs smoothly, and the light is a nice bonus. Moisture problems have improved. Best $85 I’ve spent in a while.
Broader Benefits of Upgrading Exhaust Fans
Better indoor air quality, reduced mold risk, lower energy use, and peace and quiet. Many older homes have undersized or failing fans. This upgrade pays for itself in comfort quickly.
Tips for Similar Projects
Match CFM to room size.
Check local codes for venting.
Use insulated duct if in cold attic.
Consider humidity-sensing models for automation.
Easy win for any bathroom.
Replacing the noisy fan was simple, cheap, and transformative for daily comfort. If you have a loud one, do it. You’ll wonder why you waited.
Anyone else upgraded their bathroom fan recently? What model did you choose, total cost, and noise improvement? Share recommendations and tips for the project. What’s the best small upgrade you’ve done for comfort?