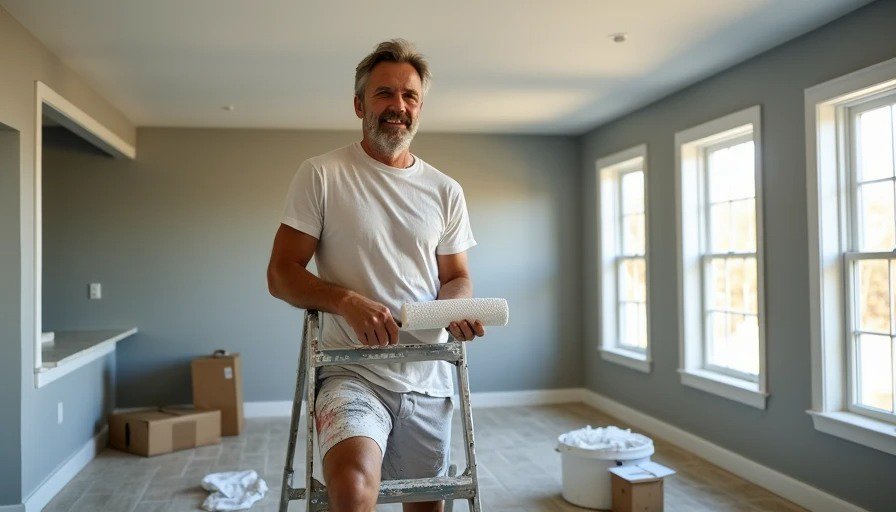
Those builder-beige walls had been staring at us since we bought the house in 2018. They showed every scuff, every kid handprint, and made the whole place feel dark and dated even with decent furniture. I kept putting it off because quotes from painters were insane — $4,000 to $7,000+ for just the first floor of our ranch-style home. One guy wanted $5,500 for walls, trim, and basic prep. No way I was paying that when I could do it myself over a few weekends.
I tackled the living room, kitchen open area, hallway, and small dining space — roughly 1,200-1,400 sq ft of walls and ceilings plus trim. Three full weekends plus a couple evenings after work. Total cash outlay: $270. My wife walked in after the final coat and said it looked like we dropped five grand on a refresh. That felt pretty good.
Planning and Color Choices
I spent a weekend prepping mentally. We went with a light gray (something like Behr Silver Drop or similar neutral) for the walls — modern but not cold. White semi-gloss for trim and doors to make everything pop. Chose eggshell for walls because it hides imperfections better than flat and cleans easier than satin in high-traffic areas.
Tested samples on the wall first. Big mistake people make is skipping this — lighting changes everything. Bought quarts for testing, then full gallons once decided.

Materials Breakdown – Keeping It Under $270
Behr Marquee Interior Paint: 6 gallons at about $40 each on sale (needed 4.5, bought extra for touch-ups) = $240
Wooster brushes (3 good ones): $30
Rollers, covers, tape, drop cloths, caulk, and misc: I already had most or borrowed
No fancy sprayer. Kept it old-school with brush and roller. Marquee is pricey per gallon but covers great, often one coat over decent walls.
Cost Comparison Table (Rough 2026 Midwest Numbers)
Option | Materials Only | Full Professional | Savings with DIY |
|---|---|---|---|
Walls + Trim (First Floor) | $250-400 | $4,000 - $7,000 | $3,700+ |
Per Room Average | $80-150 | $600 - $1,200 | Big |
My Actual Total | $270 | $5,000+ estimate | $4,700+ |
Professional labor is where they get you — $25-100/hour plus markups.
Weekend-by-Weekend Breakdown
Weekend 1: Prep Hell
Moved furniture to the center, covered everything with plastic and drop cloths. Took down all wall decor, light fixtures (capped wires safely), and outlet covers.
Washed walls with TSP substitute to kill grease in kitchen and dust everywhere. Patched dozens of nail holes, dents from furniture, and some cracks with spackle. Sanded everything smooth. This step took the longest but makes the difference between amateur and pro-looking results. Skimped here in the past and regretted it.
Caulked gaps around trim. Taped edges carefully — FrogTape worked well.
Weekend 2: Ceilings and First Coats
Started with ceilings (white flat). Then cut in walls with brush, rolled the rest. Marquee flowed nice but you have to work quick — it dries fast. One coat covered most areas surprisingly well except the darkest beige spots which needed two.
Did trim last with semi-gloss. Brush work here separates good from great. I took my time on doors and baseboards.
Weekend 3: Second Coats and Touch-Ups
Light sanding between coats where needed. Second coat on walls and final trim details. Reinstalled everything, cleaned up. Total active painting time around 25-30 hours spread out.
Tools and Techniques That Saved Time
Good Wooster brushes: Cheap ones shed and leave lines.
Extension pole for rollers: Saved my shoulders.
5-in-1 painter's tool: For opening cans, scraping, etc.
Worked room by room, top to bottom: Ceiling → walls → trim.
Kept a damp rag handy for drips.
Common mistakes I avoided: Painting over dirty walls, using cheap paint that needs 3+ coats, rushing the prep.

Lessons Learned and What I'd Do Differently
The transformation is huge. Natural light bounces better, rooms feel bigger and cleaner. Kitchen especially looks upgraded. Durability so far: Marquee holds up well to wiping, no issues after a couple months.
Downsides: My back and arms were sore for days. Three weekends is a commitment — family helped with moving stuff but I did most painting solo. Next time I'd rent a small sprayer for ceilings or large walls to speed it up, though cleanup is more work.
For most 1,200-2,000 sq ft first floors, DIY saves thousands if you have the time. Pros are worth it if you hate the mess or have high ceilings/cathedral stuff.
Pro Tips from This Job:
Buy paint all at once from same batch for color match.
Paint in good lighting and check at different times of day.
Ventilate well — even low-VOC paints.
Store extra paint labeled for touch-ups.
Take before photos — the difference motivates you midway.
Long-Term Value
House feels fresher, probably helps resale value. Paint job like this can add perceived value of several thousand easily. My $270 investment vs pro quotes is a no-brainer for anyone reasonably handy.
If your walls are in decent shape (not heavy texture or major repairs), you can absolutely do this. Watch a few solid YouTube tutorials on cutting in and rolling technique.