
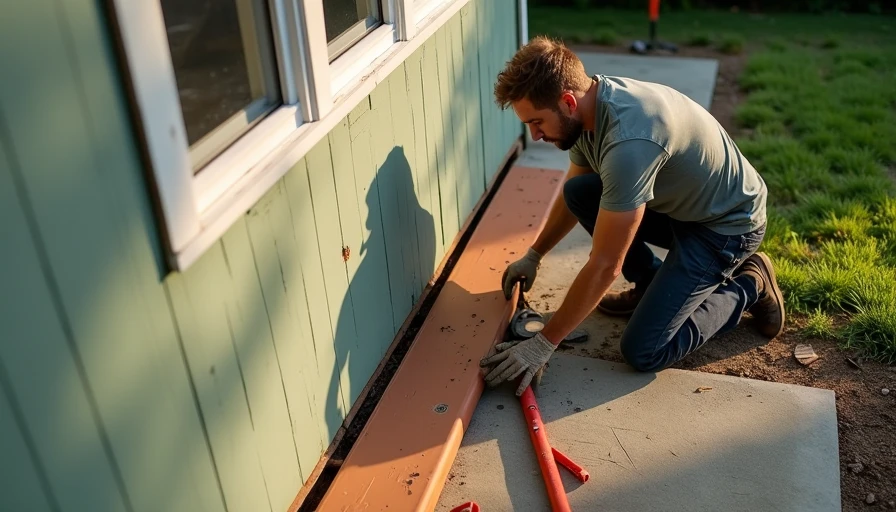
How to Remove Vinyl Siding from the Bottom – My Cost & Mistakes
I needed to remove the bottom row of siding on my house to fix a leak. Ended up paying $45 for the whole thing. Heres how to remove vinyl siding from the bottom without breaking the clips or your back. Im no pro – just a guy with a YouTube addiction and a Home Depot card.
Total was $45. That covered a siding removal tool (called a zip tool, $12), new J-channel ($8), and a box of clips ($25 – only used a few, rest are backups). I also used a flat bar and a hammer I already had.
If you're looking to remove the bottom row of vinyl siding, you don't need to rip off the whole wall. Just the bottom piece. Here's how I did it and what I spent.
What You Need
I got the zip tool at Home Depot for $12. It's a narrow piece of metal with a hook. That's the only special tool. You'll also want a flat pry bar or a stiff putty knife, a hammer, and a ladder if you're working high (I was at ground level). If your siding is old and brittle, grab a box of new clips – they run $20 to $30 for a hundred. I bought the Durabuilt brand for $25 at Lowe's. I used the Warner zip tool, about $12 at HD. Some guys swear by the Malco tools, but they cost more. I forgot to mention: safety glasses. Old siding can snap and hit your eye.
The Removal Process (Keep It Simple)
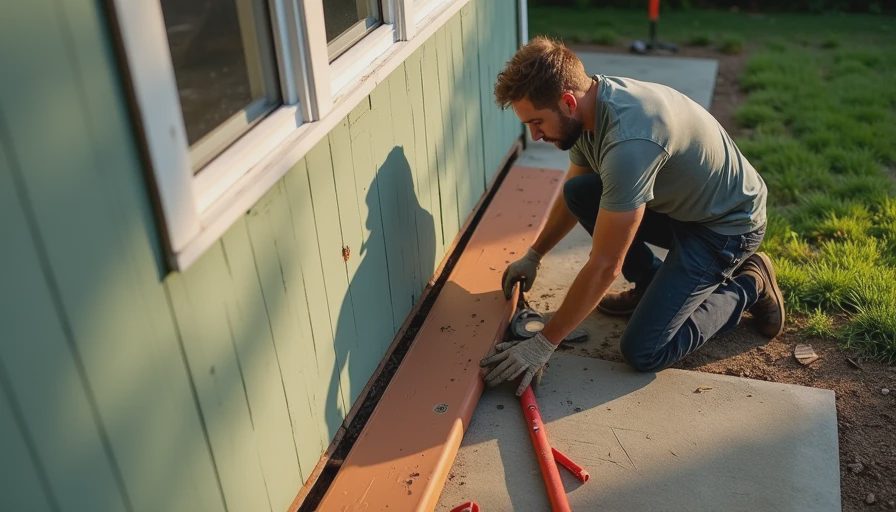
I'm not going to write a 10-step guide – you can watch a video for that. The gist: slide the zip tool under the bottom edge of the siding panel and hook it onto the lock strip. Pull downward and outward. The panel should pop free. Repeat along the length until it's loose. Then lift the panel up and slide it out of the J-channel at the ends.
That's it for the bottom row. If you're trying to remove vinyl siding from the bottom of a higher row, you have to work from the bottom up. The panels interlock, so you can't just pull the top one off without dislodging the one below. If your siding has been painted, the lock might be stuck. A little penetrating oil helps. WD-40 worked for me.
Cost Breakdown
Here's what I paid for my how to remove vinyl siding from the bottom project:
- Siding removal tool (zip tool): $12 at HD
- New J-channel (8 ft): $8 – I needed one piece to replace the damaged bottom track
- Clips (100-pack): $25 – used maybe 10, but it's good to have extras
- Total: $45
If you already own a zip tool and don't need new clips, your cost is $0. The tools are reusable. I spent an hour on it, including cleanup. At $45 an hour labor (what a handyman charges), I saved maybe $100 doing it myself. The zip tool is one-time cost. I've used it twice since – once to replace a damaged panel and once to access wiring. Well worth the $12.
Mistakes I Made
First, I tried using a screwdriver instead of the zip tool. Broke two clips and scratched the siding. Don't be cheap – buy the $12 tool. Second, I didn't realize the bottom row of siding is often the last piece installed, so it's held in by the J-channel on both ends. You have to unscrew or cut the J-channel at the corners to slide the panel out. I had to remove two screws on each side. Easy, but I didn't plan for that.
Also, if the siding is old and sun-baked, it may crack when you bend it. Wear gloves and go slow. I cracked one edge, but it's behind a corner so no one sees it. One thing I forgot: if you're removing more than one panel, label them. I mixed up two panels and had to recut a J-channel.
Should You DIY or Hire?
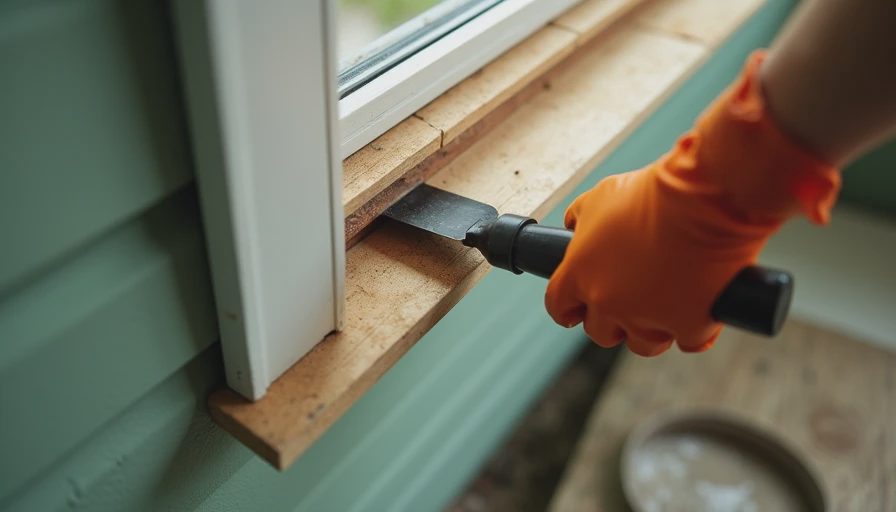
If you just need to remove the bottom row of siding to fix something, do it yourself. It's low risk – you can buy replacement panels for $15 each if you mess up. A pro will charge $150 to $300 for the same job, probably more if they have to replace material. That's highway robbery for a 30-minute job.
Learning how to remove vinyl siding from the bottom saved me $100 in labor. Its a simple skill that pays off fast. For a single bottom row, DIY is a no-brainer. But if you have multiple rows or a full wall, the time adds up. I'd quote $200 for a single row if I were a pro.
But if your whole wall needs new siding, hire it out. That's a different skill level and cost ($5,000 to $12,000 for a typical house).
Common Reasons You'll Need to Do This
Bottom siding gets damaged by sprinklers, rot, animals, or just age. I had water staining behind mine because the previous owner didn't seal the J-channel. Others remove the bottom row to install a deck ledger board, add a crawlspace vent, or replace a windowsill. For me, it was a leaky hose bib. Some people remove the bottom row to install a sill pan or to add insulation. I didn't need that, but it's a common project.
Whatever your reason, the process is the same. And knowing how to remove vinyl siding from the bottom means you can fix it yourself for under $50 instead of calling a contractor.
Final Thoughts
That's how I did it. Total time: one hour, total cost: $45. My advice: buy the zip tool, take your time, and don't force it. If the clips are brittle, just clip the old ones off and snap in new ones when you reinstall.
Anyone else tried removing the bottom row of siding? Did you pay for a tool or just wing it? Let me know what you spent – I'm curious if I overpaid for the clips. Overall, I'm happy with the result. The leak is fixed, and the siding looks fine. If I had to do it again, I'd still DIY.