
How Do You Fix a Touch Lamp: What I Paid and What I Learned
Total was about $45. I fixed a touch lamp that stopped turning on. I'm not a pro at this, but I did it over a weekend and it's still working two months later. If you know a better way, tell me — next time I'll do it your way.
I've got this old touch lamp from Target, the kind with the metal base and three brightness settings. It worked fine for years, then one day it just wouldn't come on. Touch the base, nothing. Unplugged it, plugged it back in, still dead. I figured the bulb was fine because I swapped it with a working one. So I had to figure out how do you fix a touch lamp without replacing the whole thing.
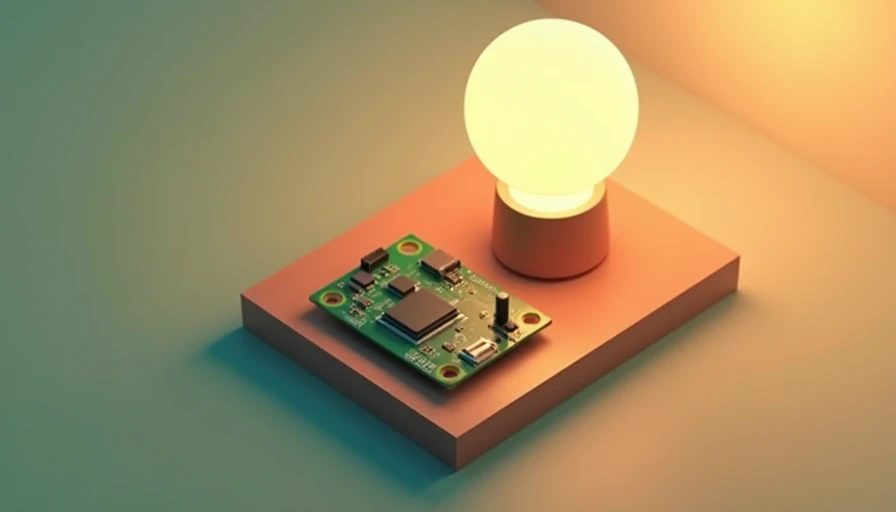
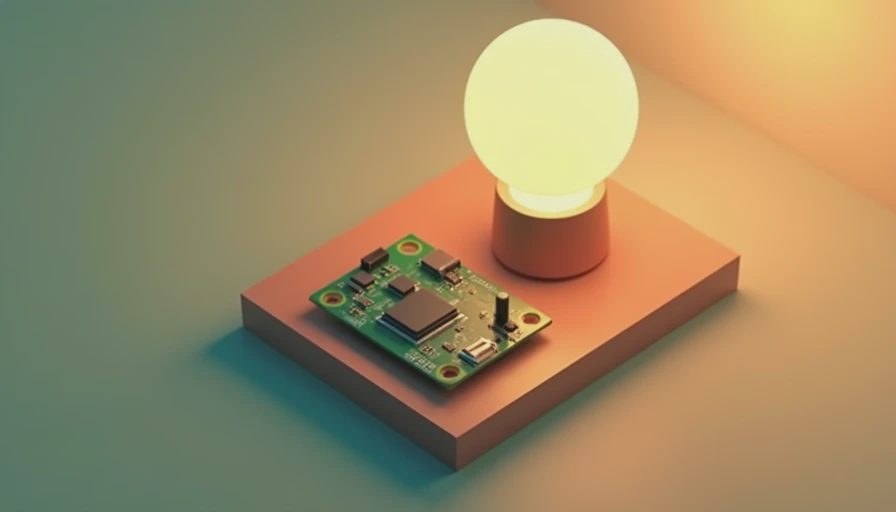
First thing I did was Google around. Lots of forum posts said it's usually the touch control module inside the lamp. That little circuit board that senses your hand and switches the light. I found replacement modules on Amazon for about $12. But I also read that sometimes it's just a loose wire or a bad bulb. So I started cheap.
The Problem
The lamp is a Torchiere style with a metal stem. The touch sensor is built into the base. When I took it apart — just three screws on the bottom — I saw the wire connections looked fine. No obvious burns or breaks. I tested the bulb in another lamp, still worked. So I figured the touch module was toast. That part costs around $10-15 depending on the brand.
What I Tried First
Before I ordered anything, I cleaned the contacts with rubbing alcohol. Sometimes dust and grime mess with the capacitance sensing. I let it dry, reassembled, still nothing. I also made sure the lamp was on a grounded outlet. Some touch lamps act weird with older two-prong outlets. Mine's a newer house, so that wasn't it. I even tried a different bulb — a standard incandescent instead of an LED. That didn't help either.
The Actual Fix
I ordered a replacement touch control module from Amazon — $11.99 with shipping. It came with a little circuit board and a wire harness. I took the lamp apart again, cut the old wires, and connected the new module following the diagram. Red wire to power, black to the bulb socket, white neutral. Took about 20 minutes. I also bought a new pull-chain switch just in case (another $6), but I didn't end up using it.
After I soldered the connections and heat-shrinked them, I plugged the lamp in. Touched the base — it worked. All three brightness levels came on. I was surprised it was that simple.
What It Cost
Here's my breakdown:
- Touch control module: $11.99
- Wire connectors and heat shrink: $4.50 (had some already)
- Soldering iron (already owned, but if you need one, a cheap kit is $15)
- Replacement pull-chain (not needed): $6
- Total out of pocket for this fix: about $16.50 if you count only the module and connectors. More like $45 if you buy a soldering iron and other tools new.
I'm counting the real cost at $45 because I bought a new soldering iron (mine was dead) and some extra supplies. The lamp itself was maybe $40 new. So I spent more on the fix than the lamp cost originally. But it's a better lamp than the cheap ones you buy today, and I didn't want to throw it away.

Lessons Learned
- Test the bulb first. Seriously, it's obvious but easy to skip.
- Check for loose wires before you order anything. A loose connection can mimic a dead module.
- Make sure your lamp is unplugged when you work on it. The capacitors can hold a charge, though the module I replaced was low-voltage.
- If you have a dimmable touch lamp, use the right bulb type. Some LEDs aren't compatible and will flicker or not turn on.
- The repair is doable in under an hour. Patience with the soldering is the main thing.
Did I Overpay?
I spent $45 all in, but if I had the tools already it would have been $12. I think that's fair. A new touch lamp costs $30-50 at Walmart, but it probably won't last as long. So I'm happy with it. Anyone else tried this fix? How do you fix a touch lamp if it's not the module? I'm curious what else goes wrong.
How to Avoid Touch Lamp Problems in the Future
After fixing mine, I started paying more attention to what causes these failures. One big culprit is power surges. Touch lamps have sensitive electronics, and a surge can fry them. I now plug my lamp into a surge protector to avoid that. Another tip: use the recommended bulb wattage. Many touch lamps are rated for 60 watts or less. Going higher generates heat that can damage the module over time. Also, if the lamp sits in direct sunlight or near a heat vent, the constant temperature changes can weaken solder joints. I keep mine away from windows. Finally, clean the touch surface gently with a damp cloth once a month. Grease from hands builds up and can interfere with the capacitance. None of these are hard to do, but they can double the lamp's lifespan. If you treat a touch lamp carefully, you might never need to learn how do you fix a touch lamp at all.
Total for me: $45 (with new soldering iron) or $12 (just the part). Let me know if you've done it cheaper or if there's a better trick.